


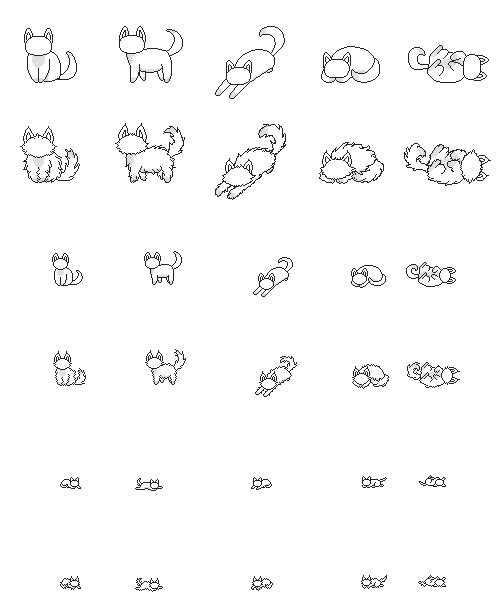
All of the base sprite sheets for not-cats are stored on-site, and can be downloaded from their URLs. The URLs for not-cat assets follow this format:
https://www.pixelcatsend.com/images/cats/c/
Following the /c/ is the specific image name. Standard patterns follow this format:
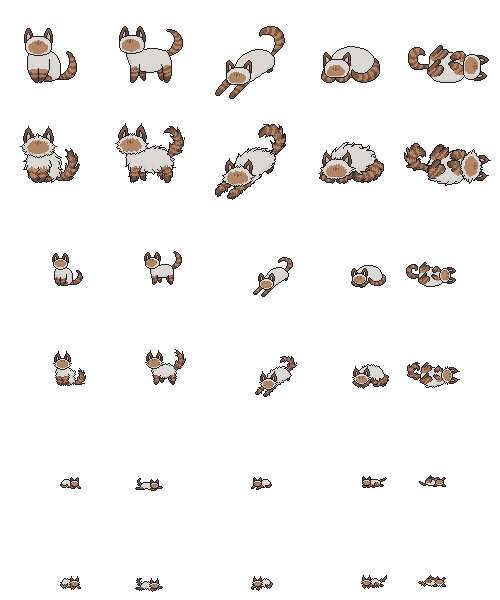
https://www.pixelcatsend.com/images/cats/c/<color>_main_<pattern>.png
White types follow this format:
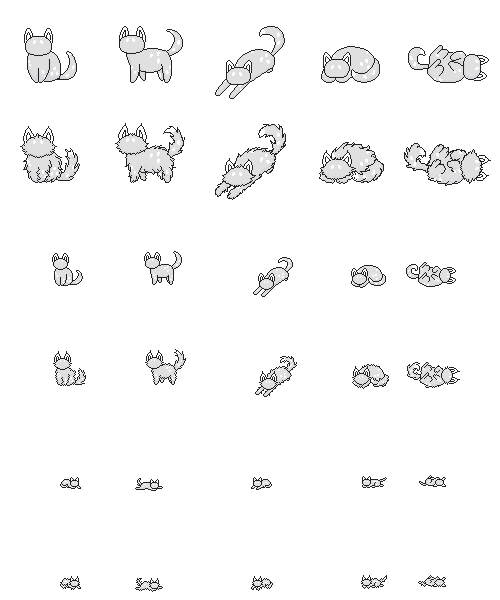
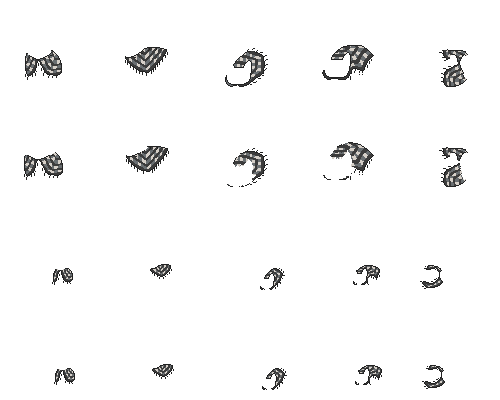
https://www.pixelcatsend.com/images/cats/c/white_<type>_<level>.png
Trade patterns are similar to standard patterns, following this format:
https://www.pixelcatsend.com/images/cats/c/<color>_trade_<pattern>.png
Note: the way trade layers are organized follows the way the colors are listed in a cat’s bio. For example, a Black-Chocolate watercolor will use the Black _main_ image and the Chocolate _trade_ image. Trade layers go on top.
Once you have your images, download/copy them and import them into the drawing program of your choice. Since these include the bean sprites and the custom template doesn’t, you may want to resize your canvas to 500 by 600 pixels or make an entirely new one for previews.
As an example tutorial, we’ll make a preview of my custom, Nick:


![[Custom] eye see you](https://www.pixelcatsend.com/images/customs/custom_1852.png)
Nick is a Black-Chocolate watercolor with the Classic pattern and Classic white level 4. To find his base, we edit the URL from before like so:
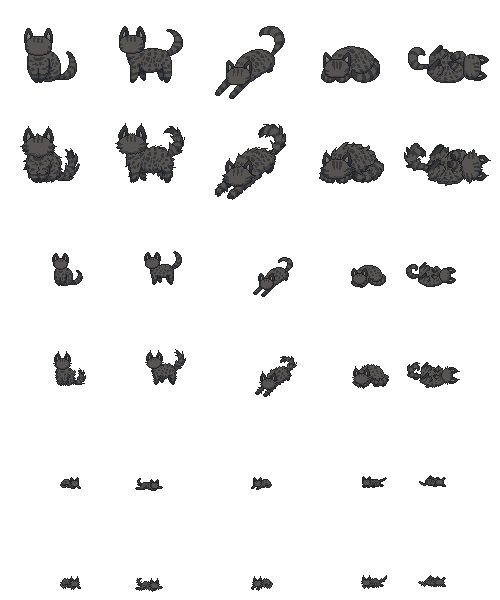
https://www.pixelcatsend.com/images/cats/c/black_main_classic.png
After that, we need the Chocolate trade layer. In the files, it’s abbreviated to choco (same for the standard version):
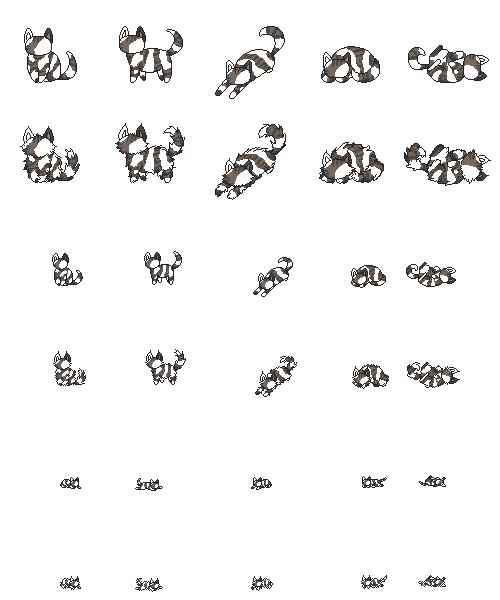
https://www.pixelcatsend.com/images/cats/c/choco_trade_classic.png
Finally, we need his white patches:
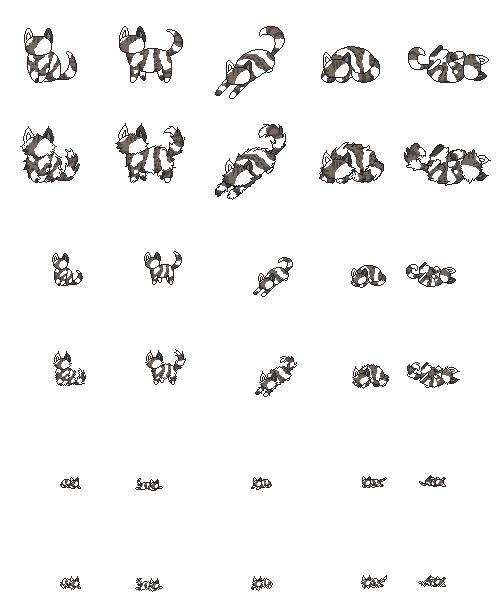
https://www.pixelcatsend.com/images/cats/c/white_classic_4.png
Once all of those are inserted into our canvas, with white on top and base on bottom, we’ll be able to preview whatever unfinished custom clothing piece we want without needing to use a computer. Yay!